New User Setup
If you’re new to EDX Wireless, you'll be receiving link to your installer download and possibly a USB hardware key shortly after your purchase.
Your install title will have your company name, the serial number, the name of the software, and the software version number. It will look something like this: EDX_1111_SignalPro_920.zip
Don’t plug the USB Key in before running setup! Doing so can cause the key to be associated with the wrong device drivers, making the key unable to be recognized by the software. Wait until after install to insert the USB Key.
Starting the install
Extract the .zipped installer EDX provided. Open the unzipped folder and double-click setup.exe
First, EDX checks for Microsoft .net components and visual c++ redistributable components compatible with this version of the EDX software, and if missing installs them.
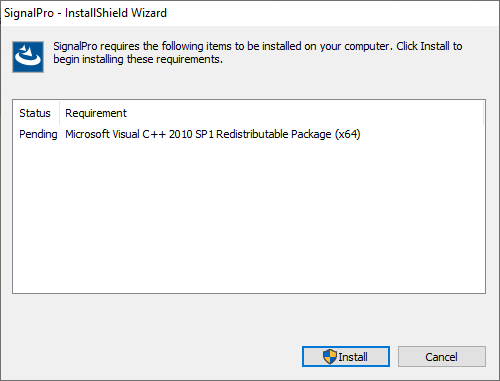
After this process finishes, you may be prompted to restart your computer, if so, restart. After computer re-starts, if the installation does not continue after a minute or two, double-click on the setup.exe to continue the installation and launch the installation wizard.
Once the installation wizard loads, you should see this window.
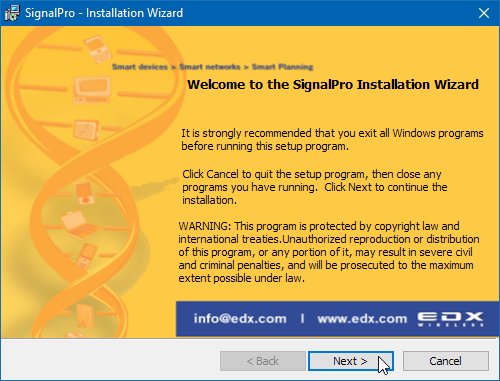
Click Next > to continue. On the next page, take the time to read over the license agreement.
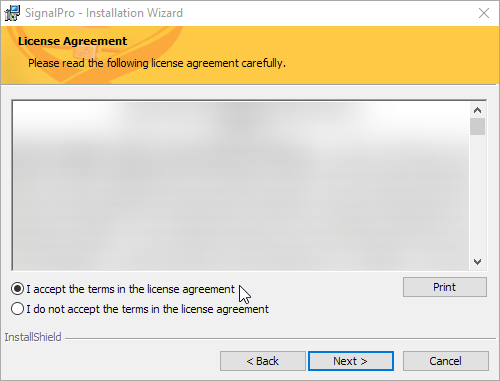
If everything looks good to you, select the option to accept the terms and click Next > to continue.
The license agreement must be accepted in order to install and use the EDX software.
Choosing Features and Install Directory
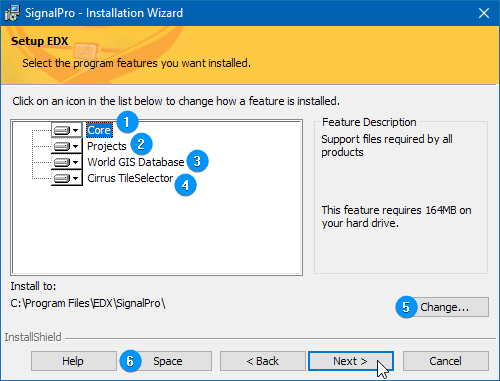
On this screen, you can select which features to install, as well as choose the install directory.
[1] The Core feature is necessary for the software to function, and must always be installed.
[2] The Projects feature includes a number of example projects. These are optional, but are recommended if you’re unfamiliar with EDX software.
[3] The World GIS Database feature includes a set of GIS database files for spatial reference when creating new projects in EDX software. This feature is optional, but recommended.
[4] The Cirrus TileSelector feature is for use with our Cirrus data subscription service.
[5] The Change... button allows you to change the default install directory, listed to the left. We recommend leaving this as-is in most cases.
When you install EDX software from a full installer, we overwrite all the files in the main installation directory (we don’t touch projects). If you have a previous version of the EDX software installed and want to keep it as-is, you’ll need to change this directory to stop it from being overwritten. We recommend naming it with the product name and version: e.g. SignalPro_920
[6] The Space button will tell you if there is enough space on your drive to install the software.
Once your options are in order, click Next > to continue.
Finishing Up
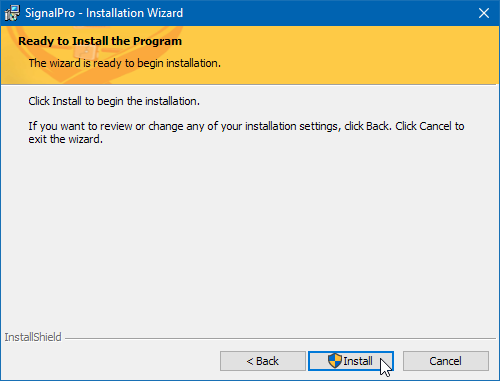
Before continuing, you’ll be asked to confirm your selections. If you’re ready to go, click Install.
If you see any error messages, you can safely ignore them. It doesn’t affect the functionality of the EDX software or hardware keys. Click okay past this message.
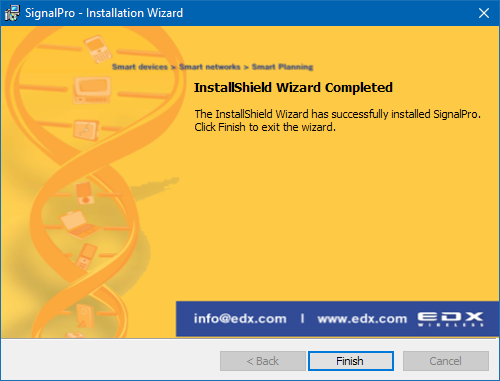
Once you see this screen, you can click Finish to exit the setup.
Cirrus Licensing Subscription (Keyless Configuration)
If you have cirrus licensing turned on, no further set up is needed.
Green USB Key Installation (Stand-Alone Configuration)
No special steps needed. Just plug the key in after the above installation finishes.
Red USB Key Installation (Network Configuration)
When using a networked configuration with EDX software, there’s a small amount of additional setup needed to get started. Specifically, you’ll need:
A host machine on the network that is accessible to all machines using EDX software.
This doesn't have to be the computer the EDX software is installed on.
The HASP device drivers: https://edx.egnyte.com/dl/ecGzyN9oL6
If your host machine has EDX software installed on it, these will be installed automatically.
The HASP License Manager: https://edx.egnyte.com/dl/YVfgiEWz4G
Optionally, the nethasp.ini file: https://edx.egnyte.com/dl/UASU103SiZ
Once you’re ready with these items, follow the steps below to install device drivers and the License Manager Software.
Installing HASP device drivers:
These installation steps are only used if you're installing the License Manager software on a system that does NOT have the EDX software installed. Skip these steps if EDX software is already installed on the system that you’re putting the License Manager on.
Ensure there are no USB Keys installed in any USB port on the computer.
Navigate to C:\Users\<your name>\Downloads\Sentinel_LDK_Run-time_setup\Sentinel_LDK_Run-time_setup
Double click on the HASPUserSetup
Allow this device to make changes to your computer
Click next , then click accept, then click next, and finally click finish
Plug in the red USB key.
If the USB key lights up and Windows notifies you that your new hardware is ready to use, then your drivers have been successfully installed!
Now you can unzip and run the HASP License Manager to install the license managing software. Just click okay through the whole process.
For simplicity, we recommend that you install license manager as a service and configure it to start automatically each time the computer is rebooted.
After the HASP License Manager is installed, you should be able to launch the EDX software.
Depending on your network configuration, the EDX software on a users computer may not be able to find the path to the license manager. In that case, you’ll need to download and add a nethasp.ini file to the bin directory of your install directory; you’ll do this for all instances of EDX that can’t launch because they can’t reach the License Manager.
First, obtain the IP address for the License Manager host machine, and then follow these steps for each machine that needs to be configured:
Open the
nethasp.inifile for editing.Find the line starting with
NH_SERVER_ADDRUpdate the
nnn.nnn.nnn.nnnfield with the IP address of the server.Save and close the file.
Copy to the
binfolder for your installation of the EDX software.For example, the default location of a SignalPro installation can be found at
C:\Program Files\EDX\SignalPro\bin
You should now be able to launch and use the EDX software from that machine!